8 Best Kitchen Painting Tips Most Helpful
Having best tips painting your kitchen can mean most helpful, gratifying experience when updating walls & ceilings. Here, we will discuss many tips that come to mind, making painting kitchen areas one you will enjoy many years to come.
Suggesting kitchen is one of the most used rooms of the home, where families gather for the day for breakfast, and evening for dinner, discussing days events. On special occasions entertaining other family members and friends.
Although kitchens tend to require less interior painting than other rooms of the home, as cabinets take up a lot of wall space, much is required. Pulling off a professional interior painting kitchen for all to enjoy.
8 Kitchen Painting Tips
Below, are some kitchen painting tips helping your kitchen painting project go as smoothly as paint out of the bucket, on walls and ceilings.
- Clean surfaces
- Best painting tools
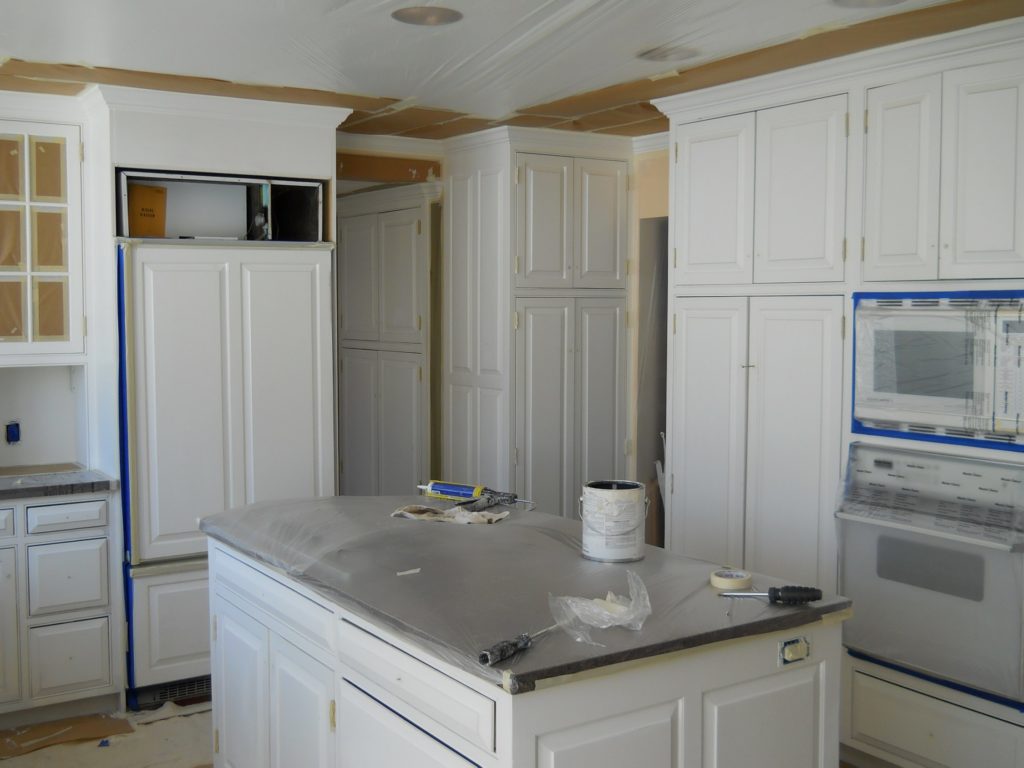
- Masking off areas
- Caulk
- Work from top down
- Ceilings then walls
- Keep roller pointed same direction
- Paint trim, baseboards
Clean Substrate
As kitchen walls and ceilings can gather dust and films not typically seen, a mild detergent with warm water and sponge is prescribed. Moving appliances out if possible, careful not harming kitchen room floor, as full refrigerators can be quite heavy, and rollers can dent wood floors.
Best Painting Tools
Normal painting tools, including but not limited to a good quality paint brush, roller pan, roller skin, drop cloths, 3-M film dispenser, roll of 48" film, premium quality caulk, disposable rags, small bucket of warm water, Blue 3-M Tape, and a lot of patience.
Buying Paint
Purchasing paint colors that enhances your decor, but stay away from flat sheens for kitchens. Eggshell, satin, semi-gloss are sheens are best suited for kitchens and bathrooms, which allows frequent cleaning to be done, not harming the paint.
After all the cleaning has been accomplished, it's time to start masking. Be sure to use Blue tape on finished stained cabinetry, as normal tape can leave adhesive behind and possibly mare the cabinet finish.
Caulk
Caulk tape lines, wiping off with damp rag, for smooth uniform paint finish.
Wet Paint Brush
Soak new paint brush in warm water if using latex, which is highly recommended. Shaking off excess, by hitting brush heel on the toe of your work boot. That way good quality paint brush is easier to clean, and less likely to drip.
Work Top Down
Always working from top down, it's ok getting ceiling paint on walls, rolling out from furthest corner to another, painting interior kitchen ceiling. After ceiling paint has dried, normally 30 minutes, it's time to paint walls, and around cabinets.
Keep Roller Same Direction
Remember to keep paint roller pointing the same direction rolling out any interior walls or ceilings. If not, thicker paint lines will probably appear as paint roller pressure is the same with same direction. Other painting contractors may probably kill me for telling this well kept secret, but what the heck.
Paint Baseboards Like a Pro
After wall painting has dried, it's time to paint baseboards & trim the same color as the rest of the home, without marks, lines or streaks, painting like a pro.
Your now on the home stretch, for a day or two of hard work, depending on the size of your kitchen, but is well worth it, for reasons mentioned earlier.
Good Luck! and your more than welcome contacting Eco Paint for any of your kitchen painting needs.


Kitchen painting tips
[…] https://www.paintingdenver.net/interior-painting/kitchen-painting-tips/ […]